Setting Up macOS Catalina: Wipe and Reinstall
Update to Catalina (Code name macOS 10.15)
Be sure it's the right time to upgrade
This guide works whether you are upgrading from Mojave to Catalina or doing a fresh install of Catalina from a machine already running it. But if you are upgrading, I'd recommending downloading the Catalina upgrade, wiping the hard drive, then upgrading. It's easier to wipe the hard drive when Mojave is installed. On top of that, if you install Catalina before wiping, you'll have to reinstall it again later (+30 minutes).
Say goodbye to 32-bit apps
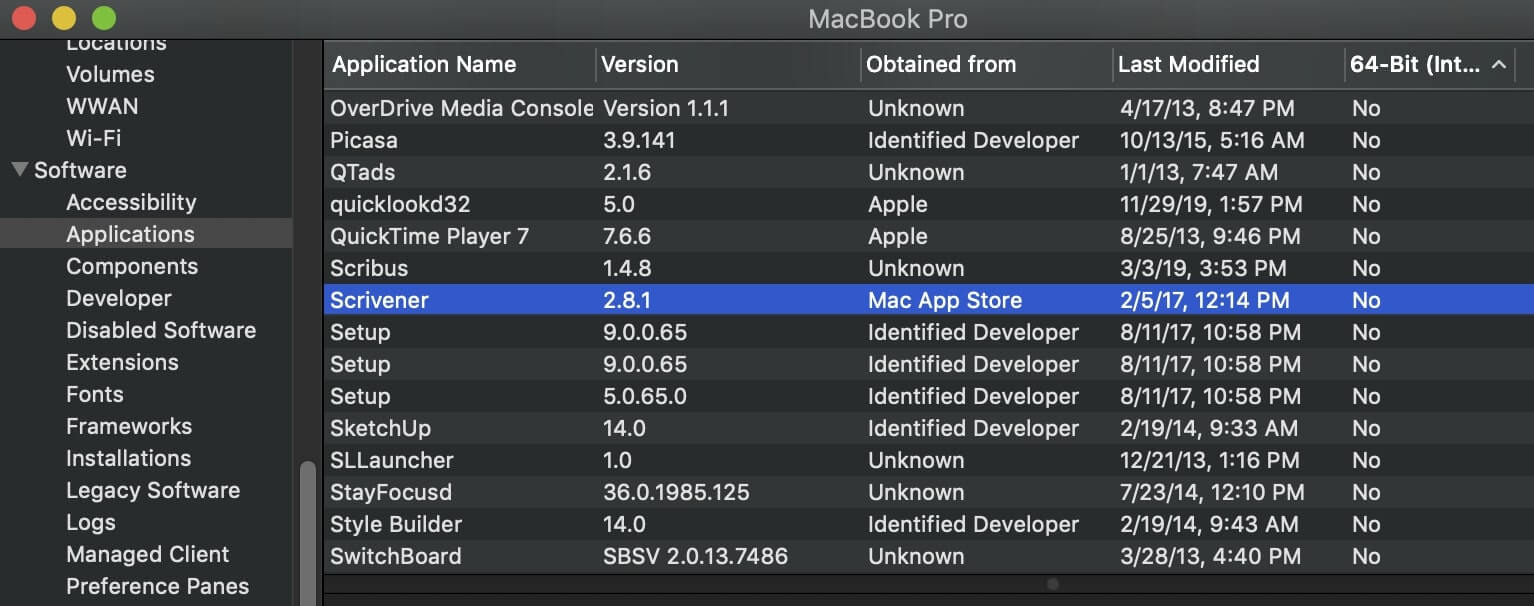
If you are updating your Mac from Mojave, be aware that certain apps that work in Mojave will no longer work in Catalina. 32-bit apps will no longer work, and only 64-bit apps will run going forward. In my case, I discovered that Scrivener 2 (Scrivener is an excellent app for writing large projects, if you haven't heard of it) won't work in Catalina. When I say it won't work, I mean I wouldn't be able to use the app at all after upgrading. I ended up needing to buy Scrivener 3 in order to access my Scrivener projects on Catalina. The company that makes Scrivener did offer me a discount on upgrading, but it wasn't free. Be aware that you no longer be able to use certain apps in Catalina.
What apps will no longer be supported?
Examples include old versions of Final Cut, photo editor Aperture, Microsoft Office 2011, or basically any versions of Adobe Creative programs (e.g. Photoshop and InDesign) that are not the latest version (i.e. Creative Cloud 2019+).
To check if you have apps that aren't compatible, navigate to Apple -> About this Mac -> System Report -> Software -> Applications. After it loads, find the "64-Bit" Column and click on it to sort by 64-bit. Look through the list of apps that have "No" for this column. If you have video games on your machine, you may also notice that some video games will not be playable on Catalina.
Visit: Apple Support - What to do before you sell, give away, or trade in your Mac
Prepare the computer to be wiped
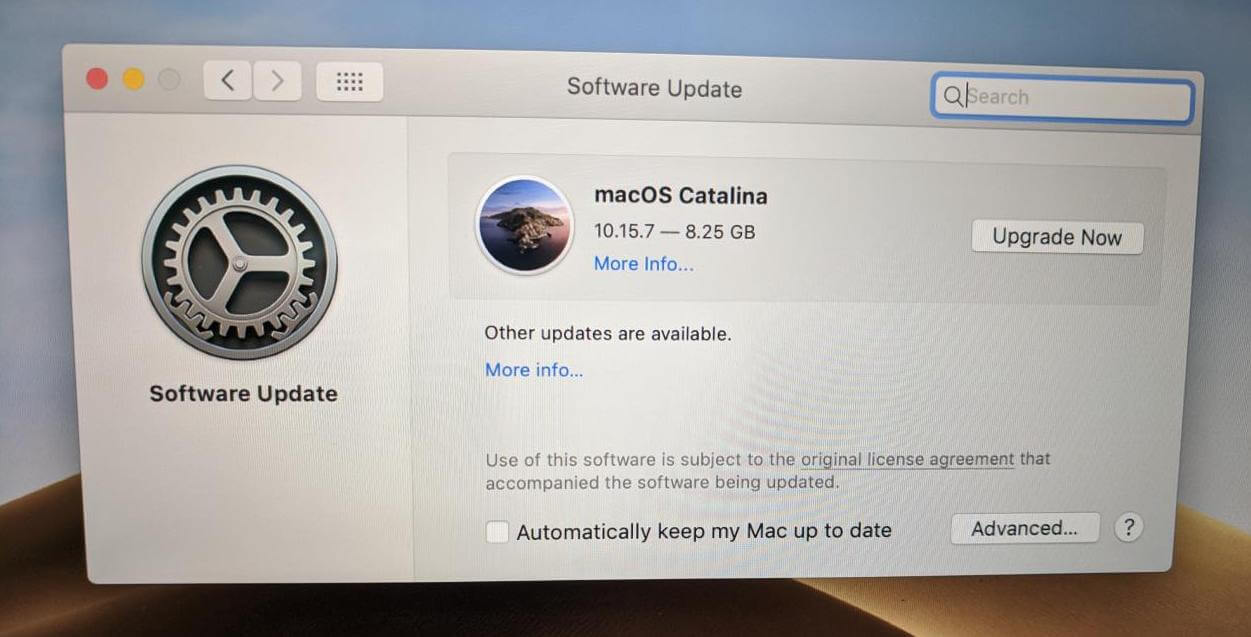
If your computer is currently using Mojave or an earlier version of macOS, you'll want to download Catalina before you wipe your hard drive to install up macOS Catalina.
Go to the Apple symbol in the top left, click on System Preferences, and then select Software Update from the options. After checking for new updates, your Mac will show you are ready to update to macOS Catalina. Click to download the update (my download took about 8 minutes on medium-fast internet.)
Before these steps, be sure,
- Set aside about 45 minutes to an hour to complete the wipe as well as the installation and configuration (covered in the next guide).
- Back up all the content you wish to keep on the computer
- Have the password for the wifi you plan to using
- Have your Apple ID password
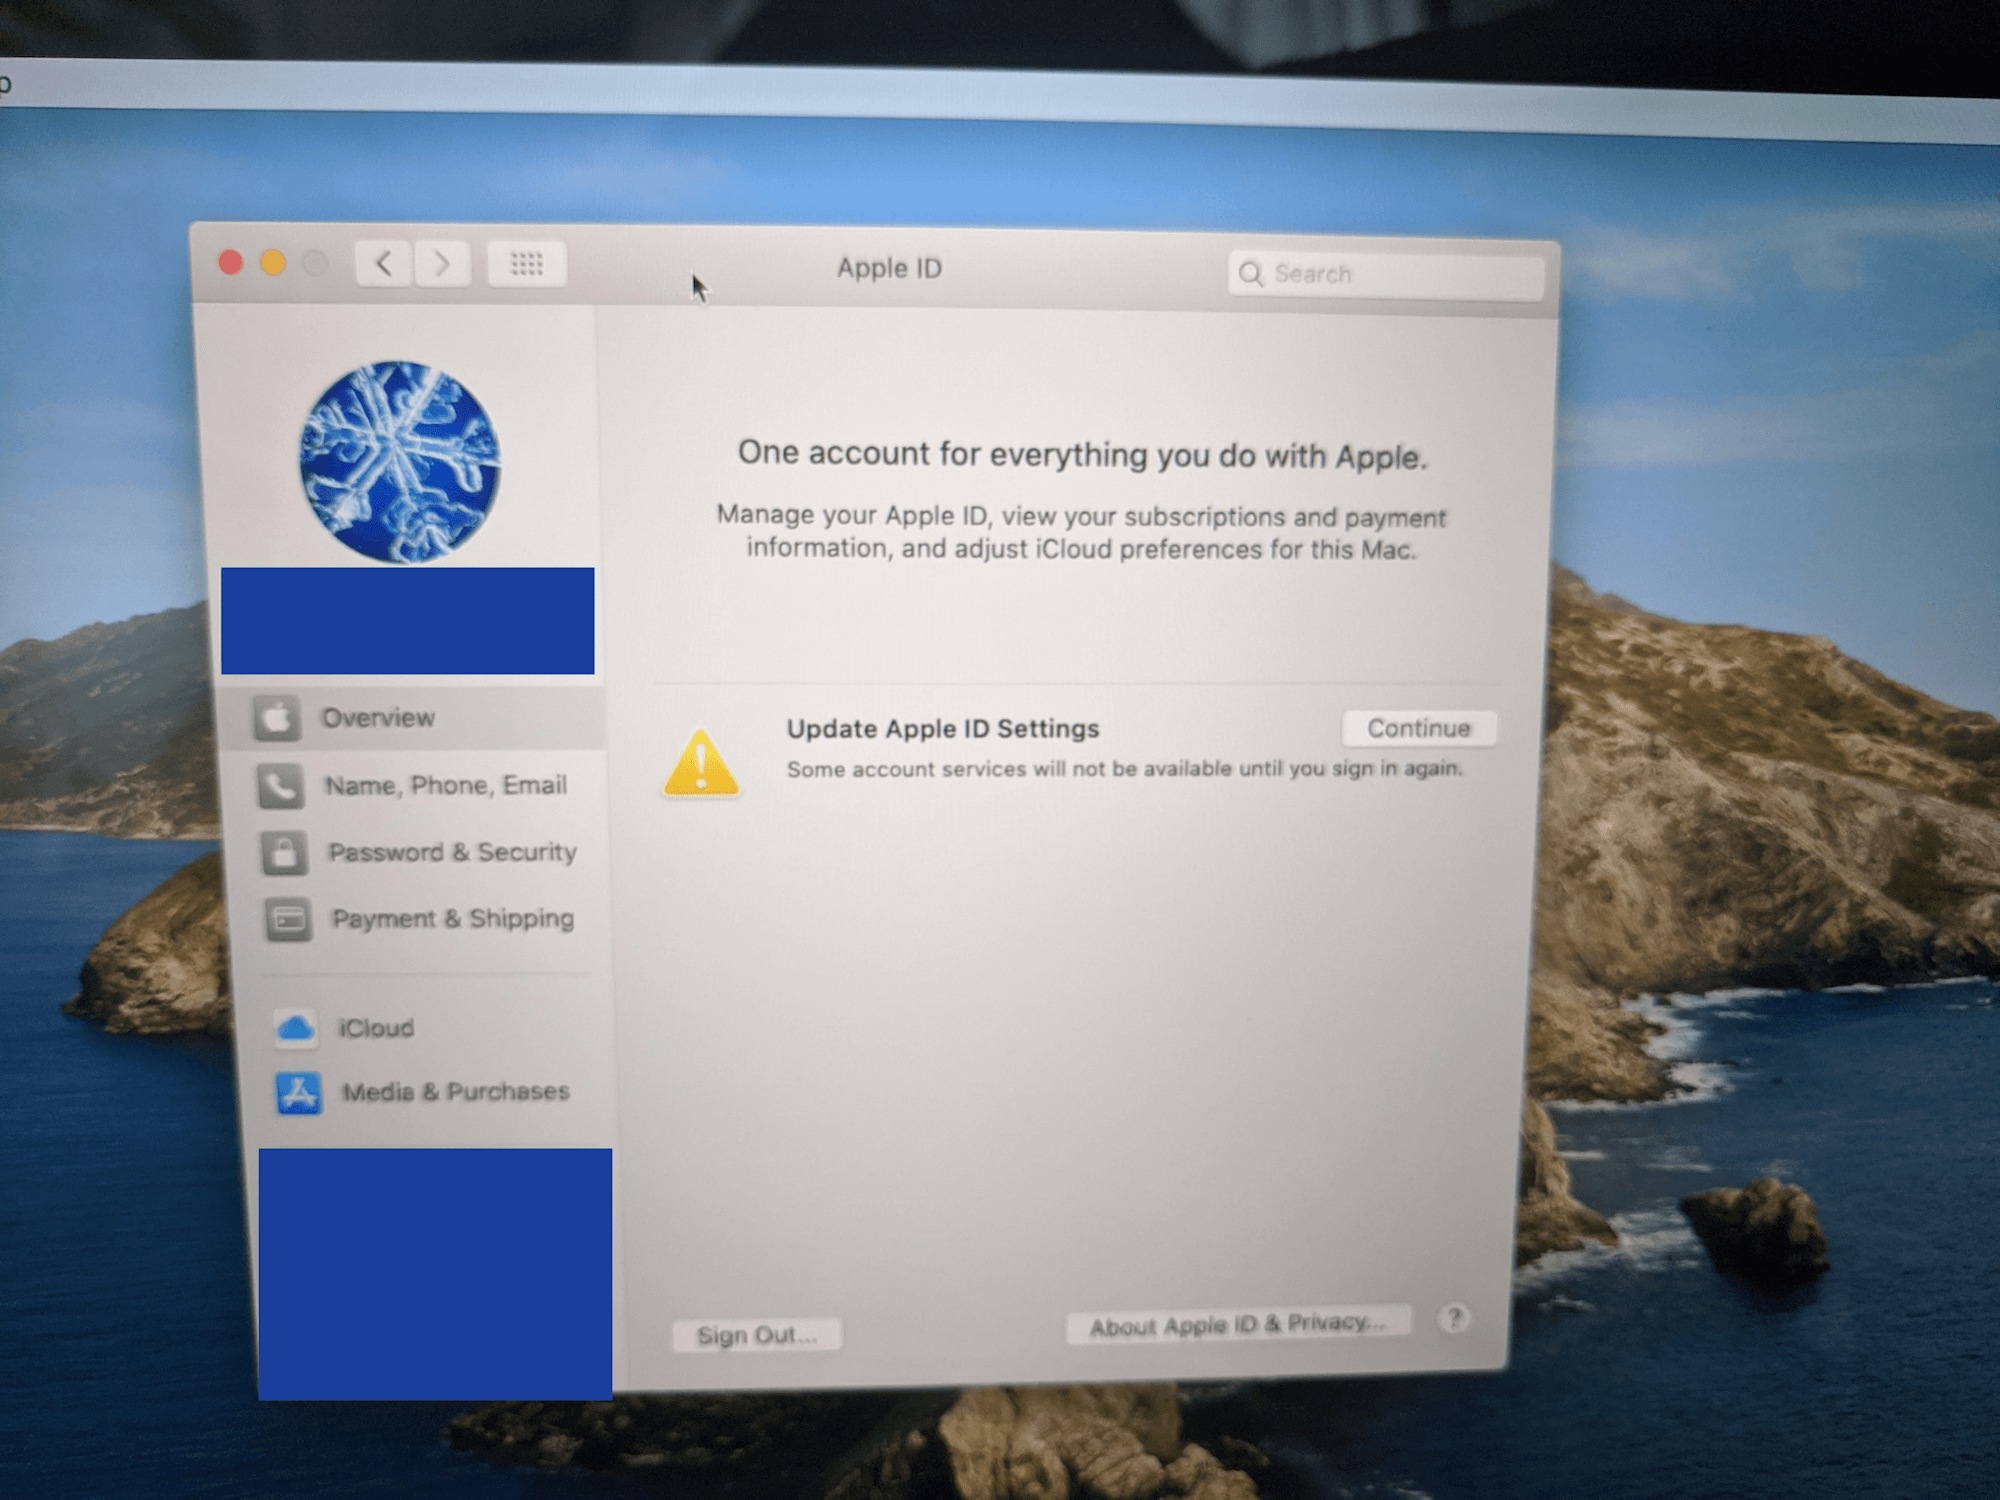
- If you are preparing the computer to be used by someone else, sign out of iCloud. If you were previously logged in and were using Find my Mac, it will ask you to use your Apple ID password (not the computer password) to confirm that you would like to sign out.
- Sign out of iMessage (if applicable) and check System Preferences -> Internet Accounts to ensure you have removed all your accounts from the system, if you're preparing the computer to be used by someone else.
- Unpair any previously-connected Bluetooth devices that will be present during the installation (optional).
Resetting NVRAM
This next step clears user settings from memory and restores some security settings to default. Fun fact: resetting NVRAM is a common solution for certain bugs that happen in macOS. Specifically, resetting NVRAM can fix certain bugs with the display that have happened to me.
Apple Support - Reset NVRAM or PRAM on your Mac- Shut down the computer
- Turn on the computer
- Wait for the Mac icon
- Hold OPT-CMD-P-R (Option + Command + p + r) for 20 seconds
- Mac icon may disappear
- Mac Icon will appear on the screen after 20 second is up
Erase the Disk
This is the irreversible moment of the process. Be sure to dot all your i's and cross all your t's (in other words, backup your data) before starting on this next step.
Load System Recovery
- Shut down the computer
- Turn on the computer
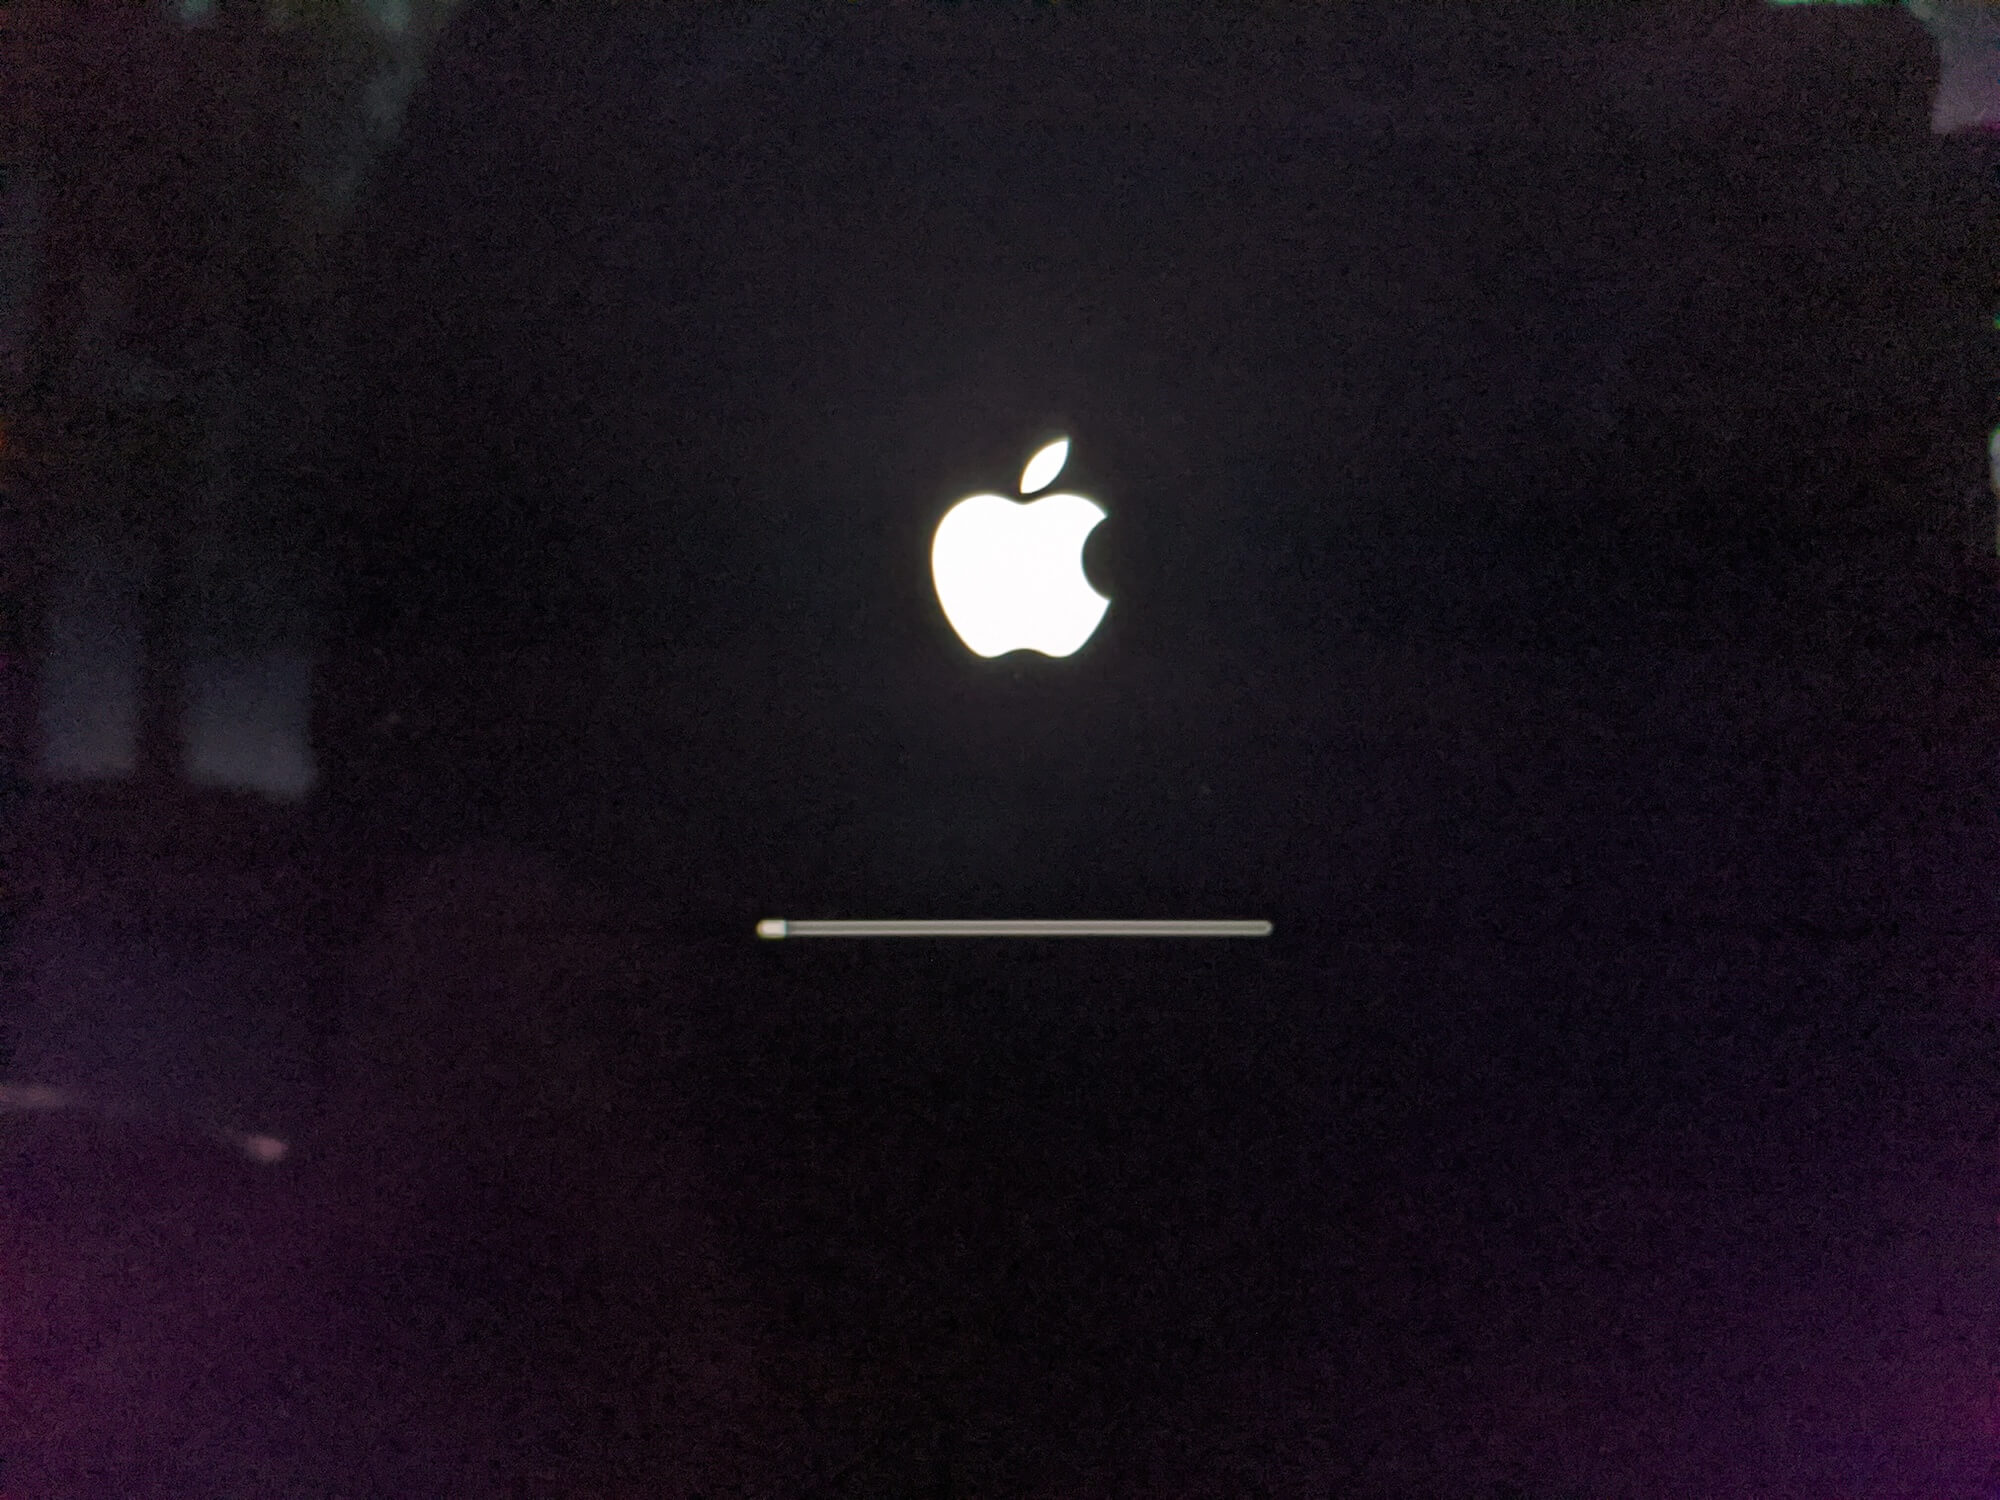
- Press and hold CMD-R (Command + r) right away
- Wait until a loading bar appears below the apple icon
- Release the CMR-R
- Wait for System Recovery to load
Select your language (English) and continue.
Select your computer admin user and enter the password.
Erase the Disk

Don't do this unless you're sure you should be deleting all the contents of your hard drive and have backed everything up.
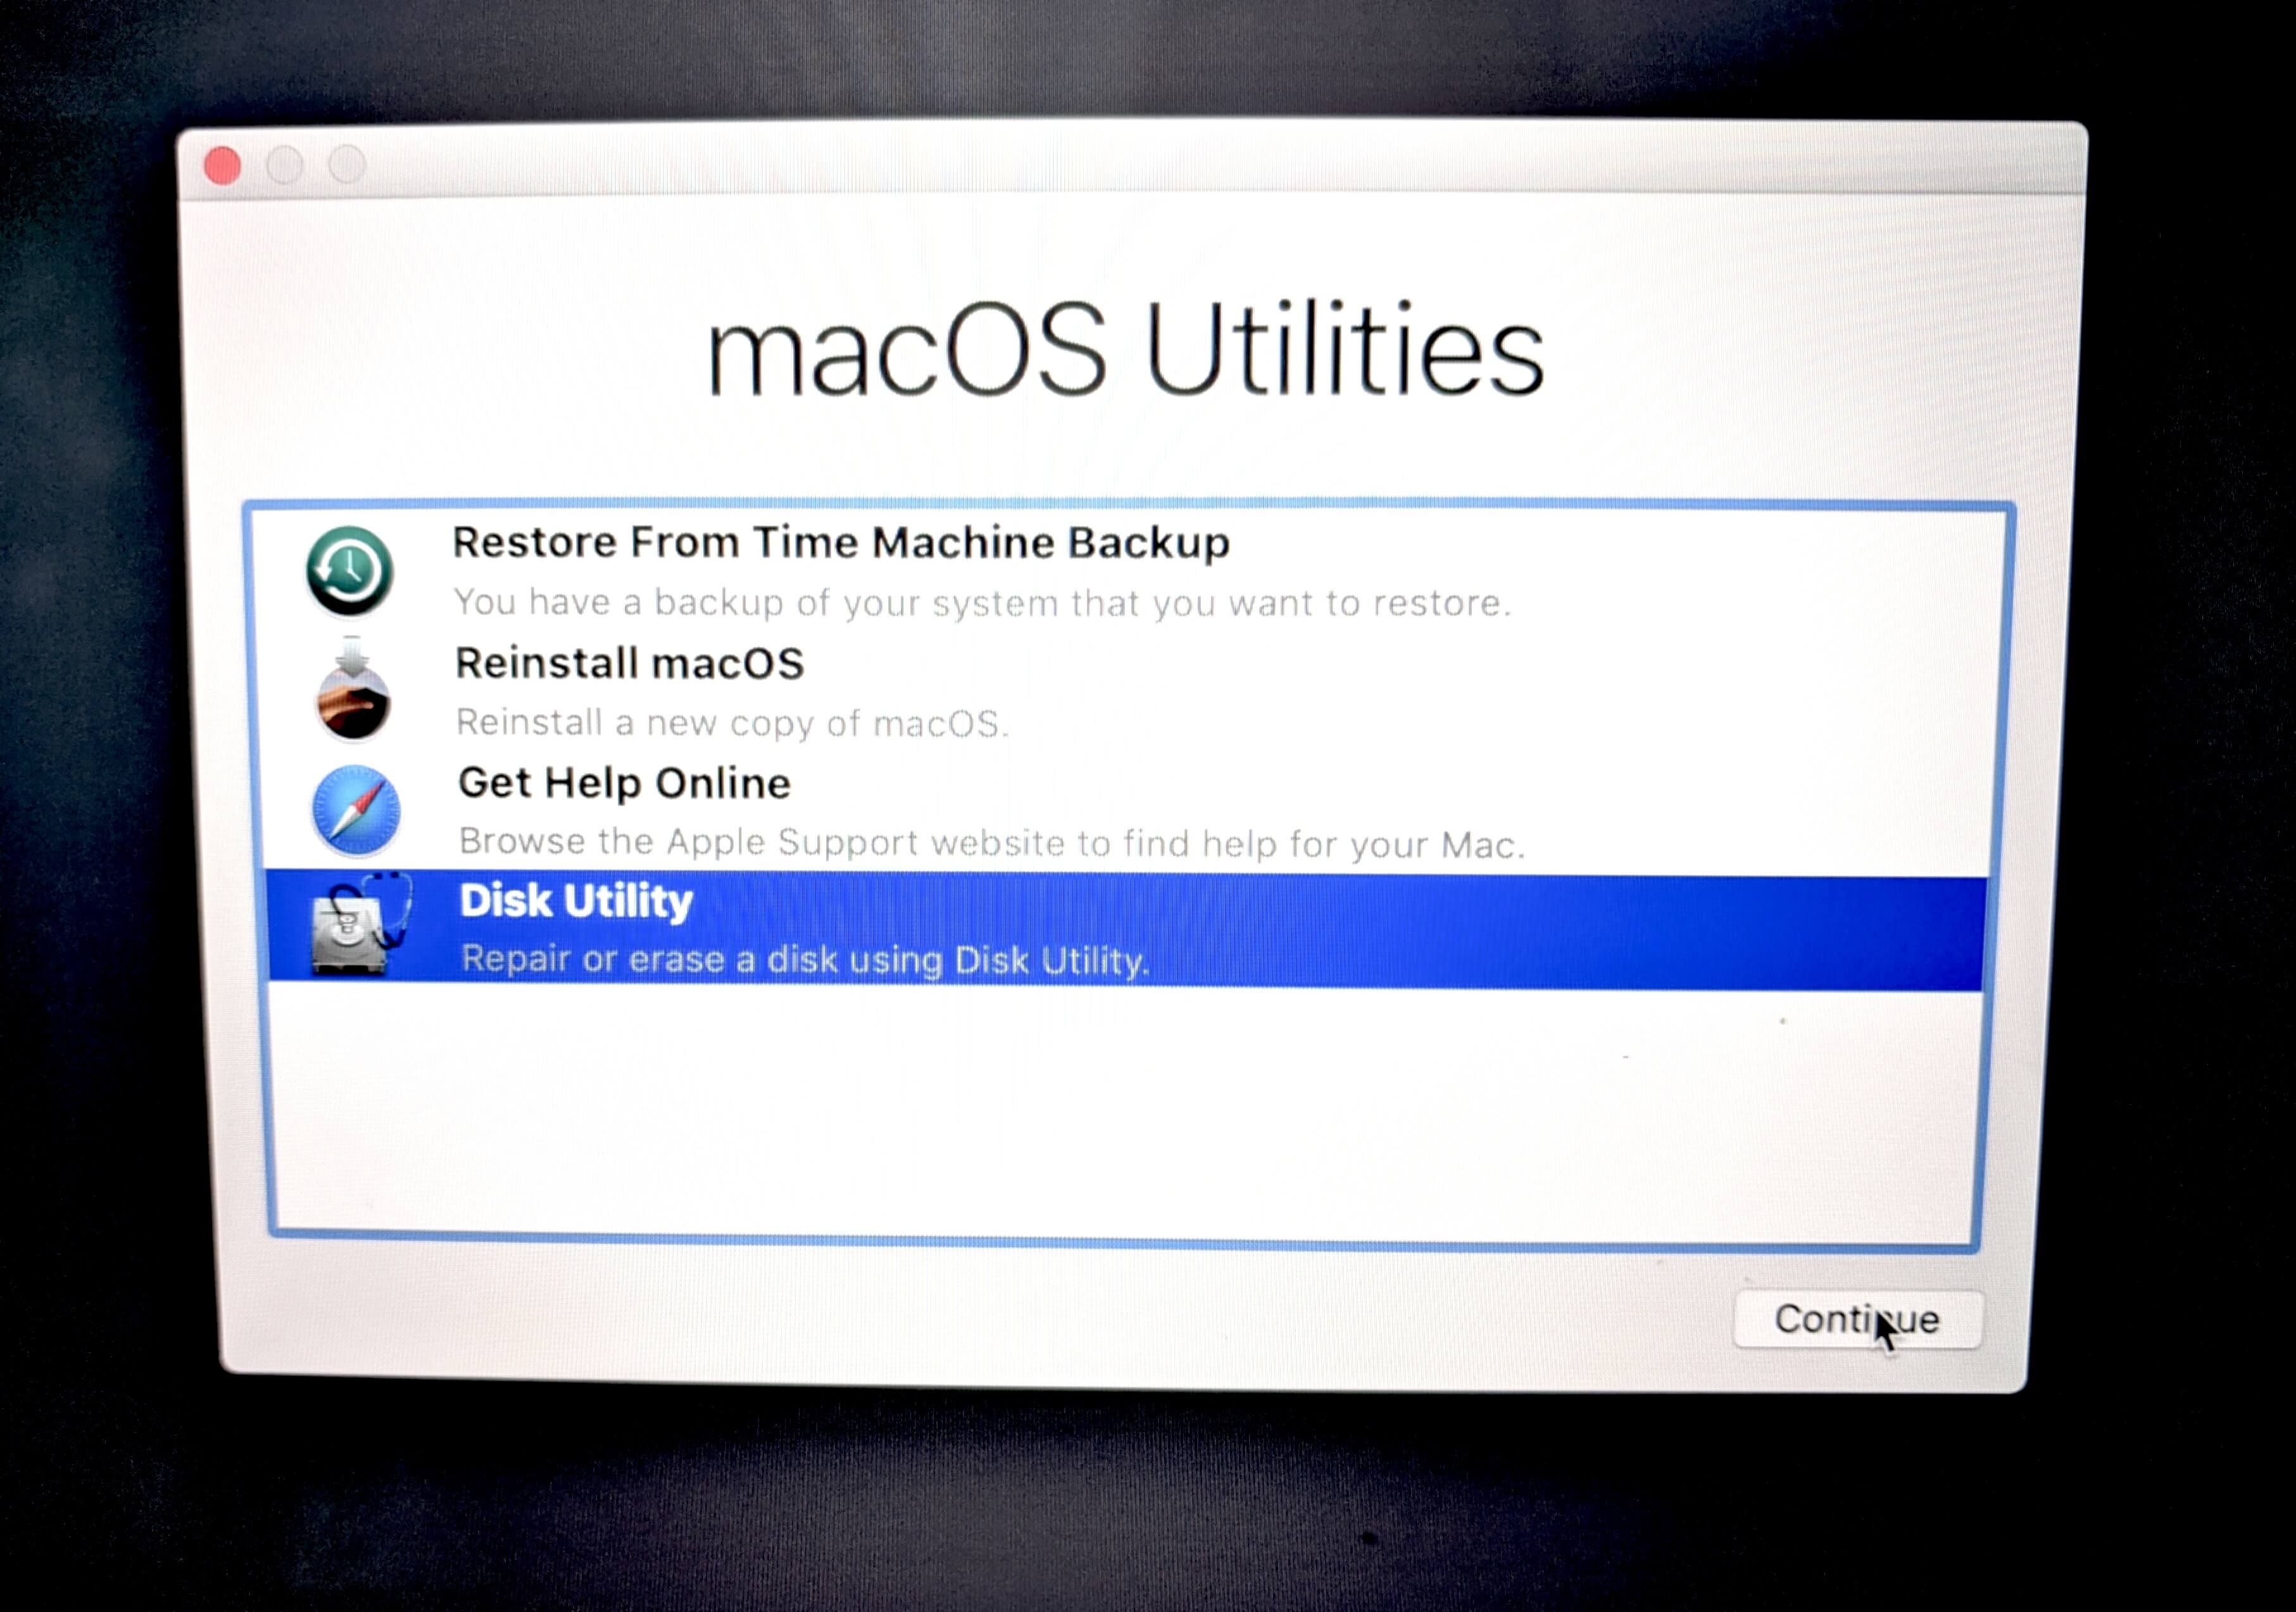
Now that we're in System Recovery, open up the Disk Utility.
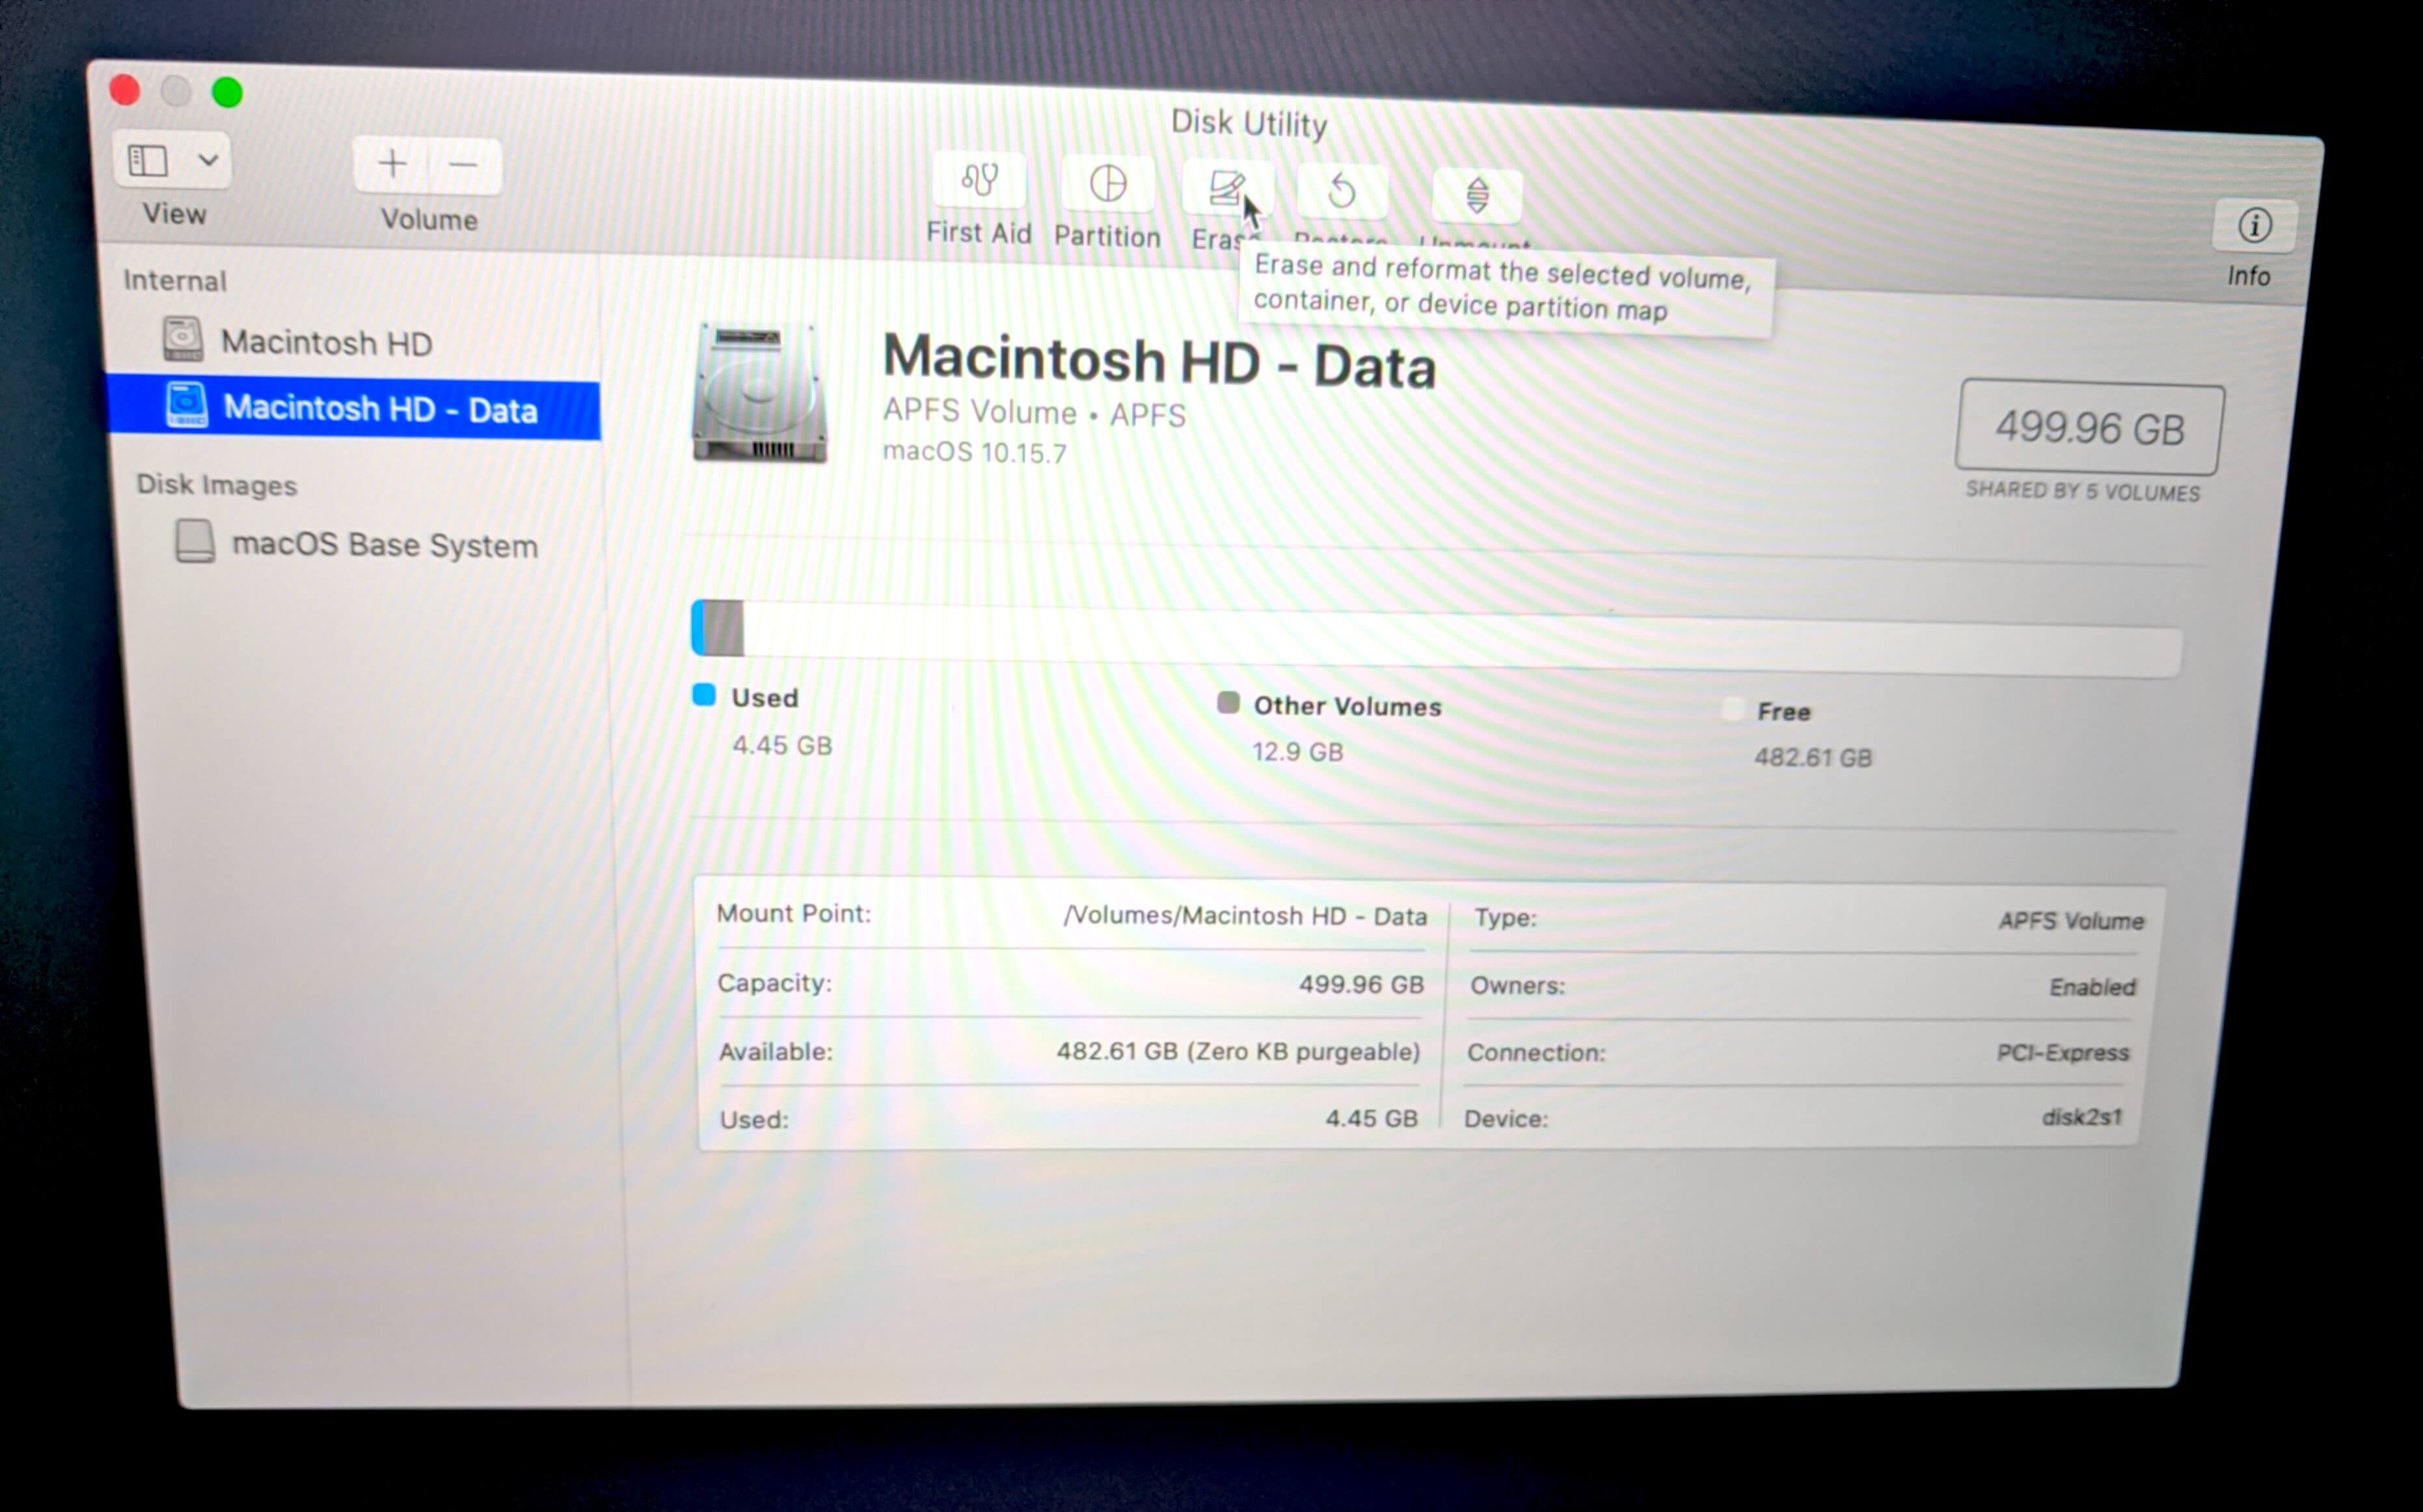
If your machine previously had Catalina on it, there will two drives here, Machintosh HD and Macintosh HD - Data. You'll need to delete the Macintosh HD - Data drive first. At the top of the Disk Utility window, select the Erase icon in the toolbar. Do not use Erase Volume Group, use Erase.
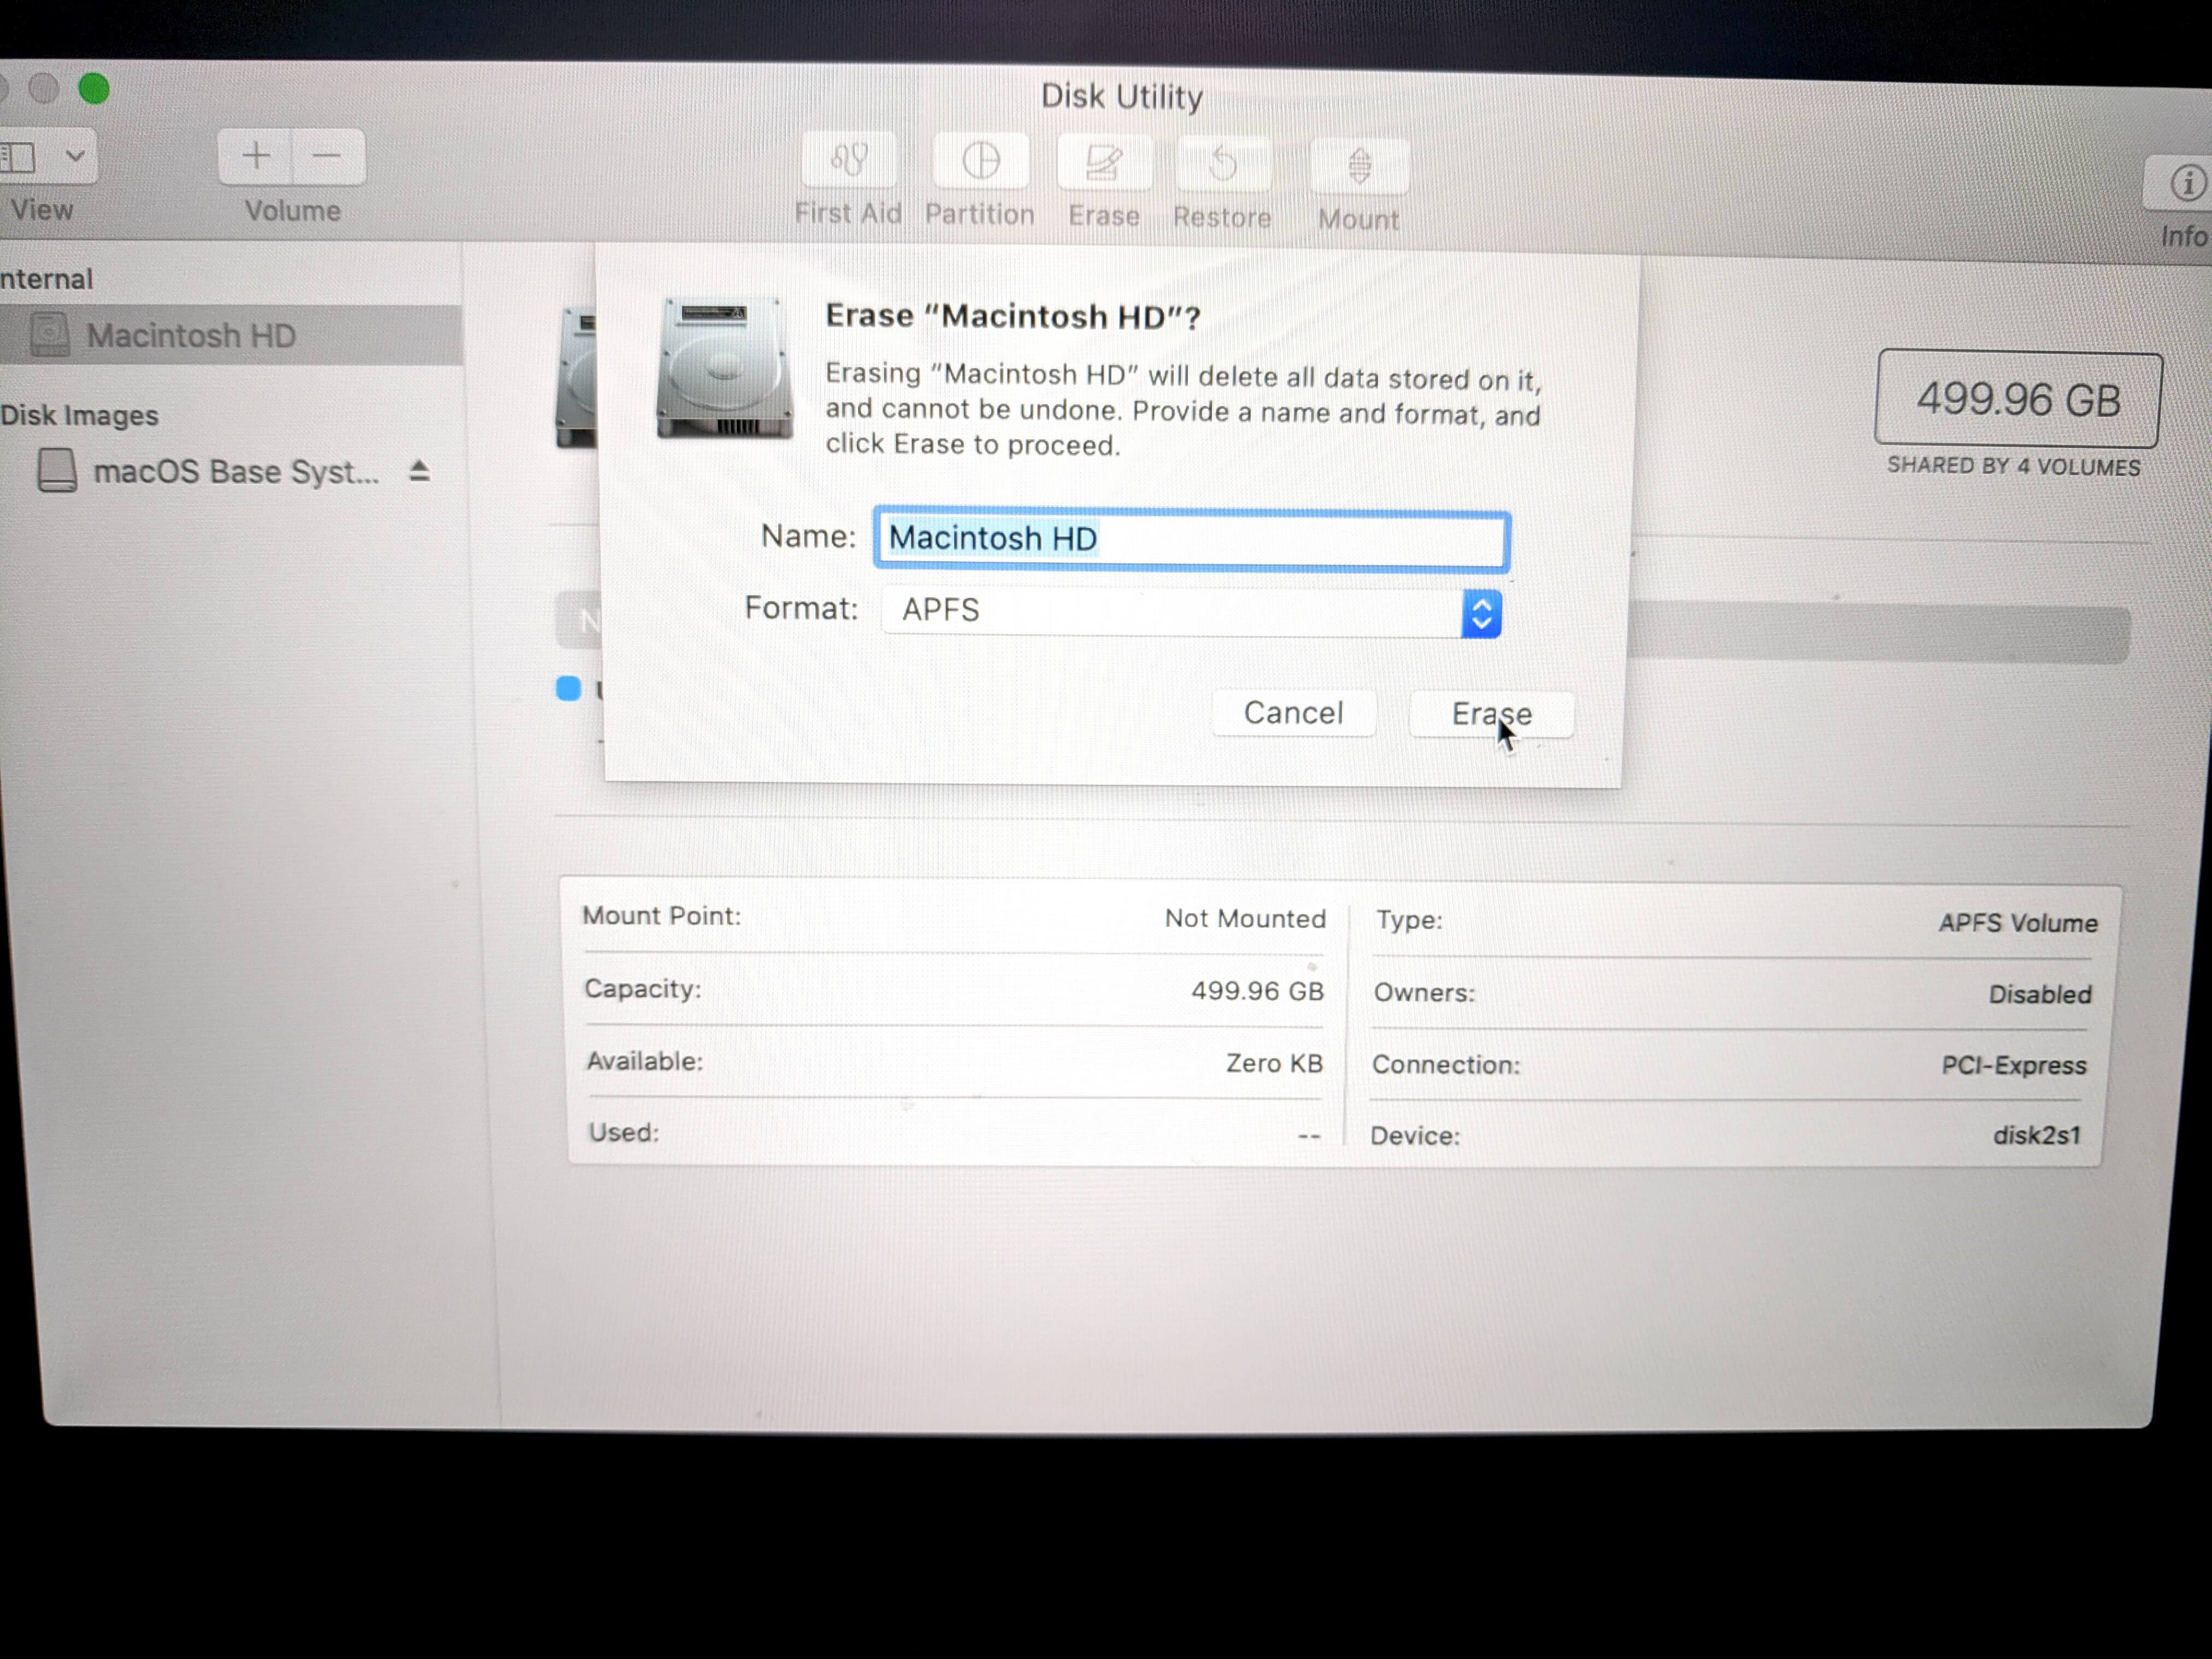
If the machine was previously macOS Mojave instead of Catalina, you won't see the Data drive, and will simply erase the Machintosh HD drive.
The online Apple docs for erasing a Catalina hard drive was wrong for this step. It suggested I delete the Volume Group, but doing so gave me an error. Instead of following the official docs for wiping the existing hard drives, I followed this guide:
How to wipe and factory-reset a Mac: the method has changed in Catalina

Errors
The first time I did this process, reinstalling Catalina on a machine that already had Catalina on it, I got an error. For some reason, the disk was mounted, preventing me from deleting it. System Recovery froze and I ended up having to do a hard reboot (holding down the power button). After turning it back on and loading System Recovery (hold CMR-R until the loading bar appears on start up), I was able to delete the drive.
System Recovery did prompt me for my wifi password. Also, if you have not already signed out of iCloud, it will ask you to reenter your Apple ID password again.
Reinstall macOS
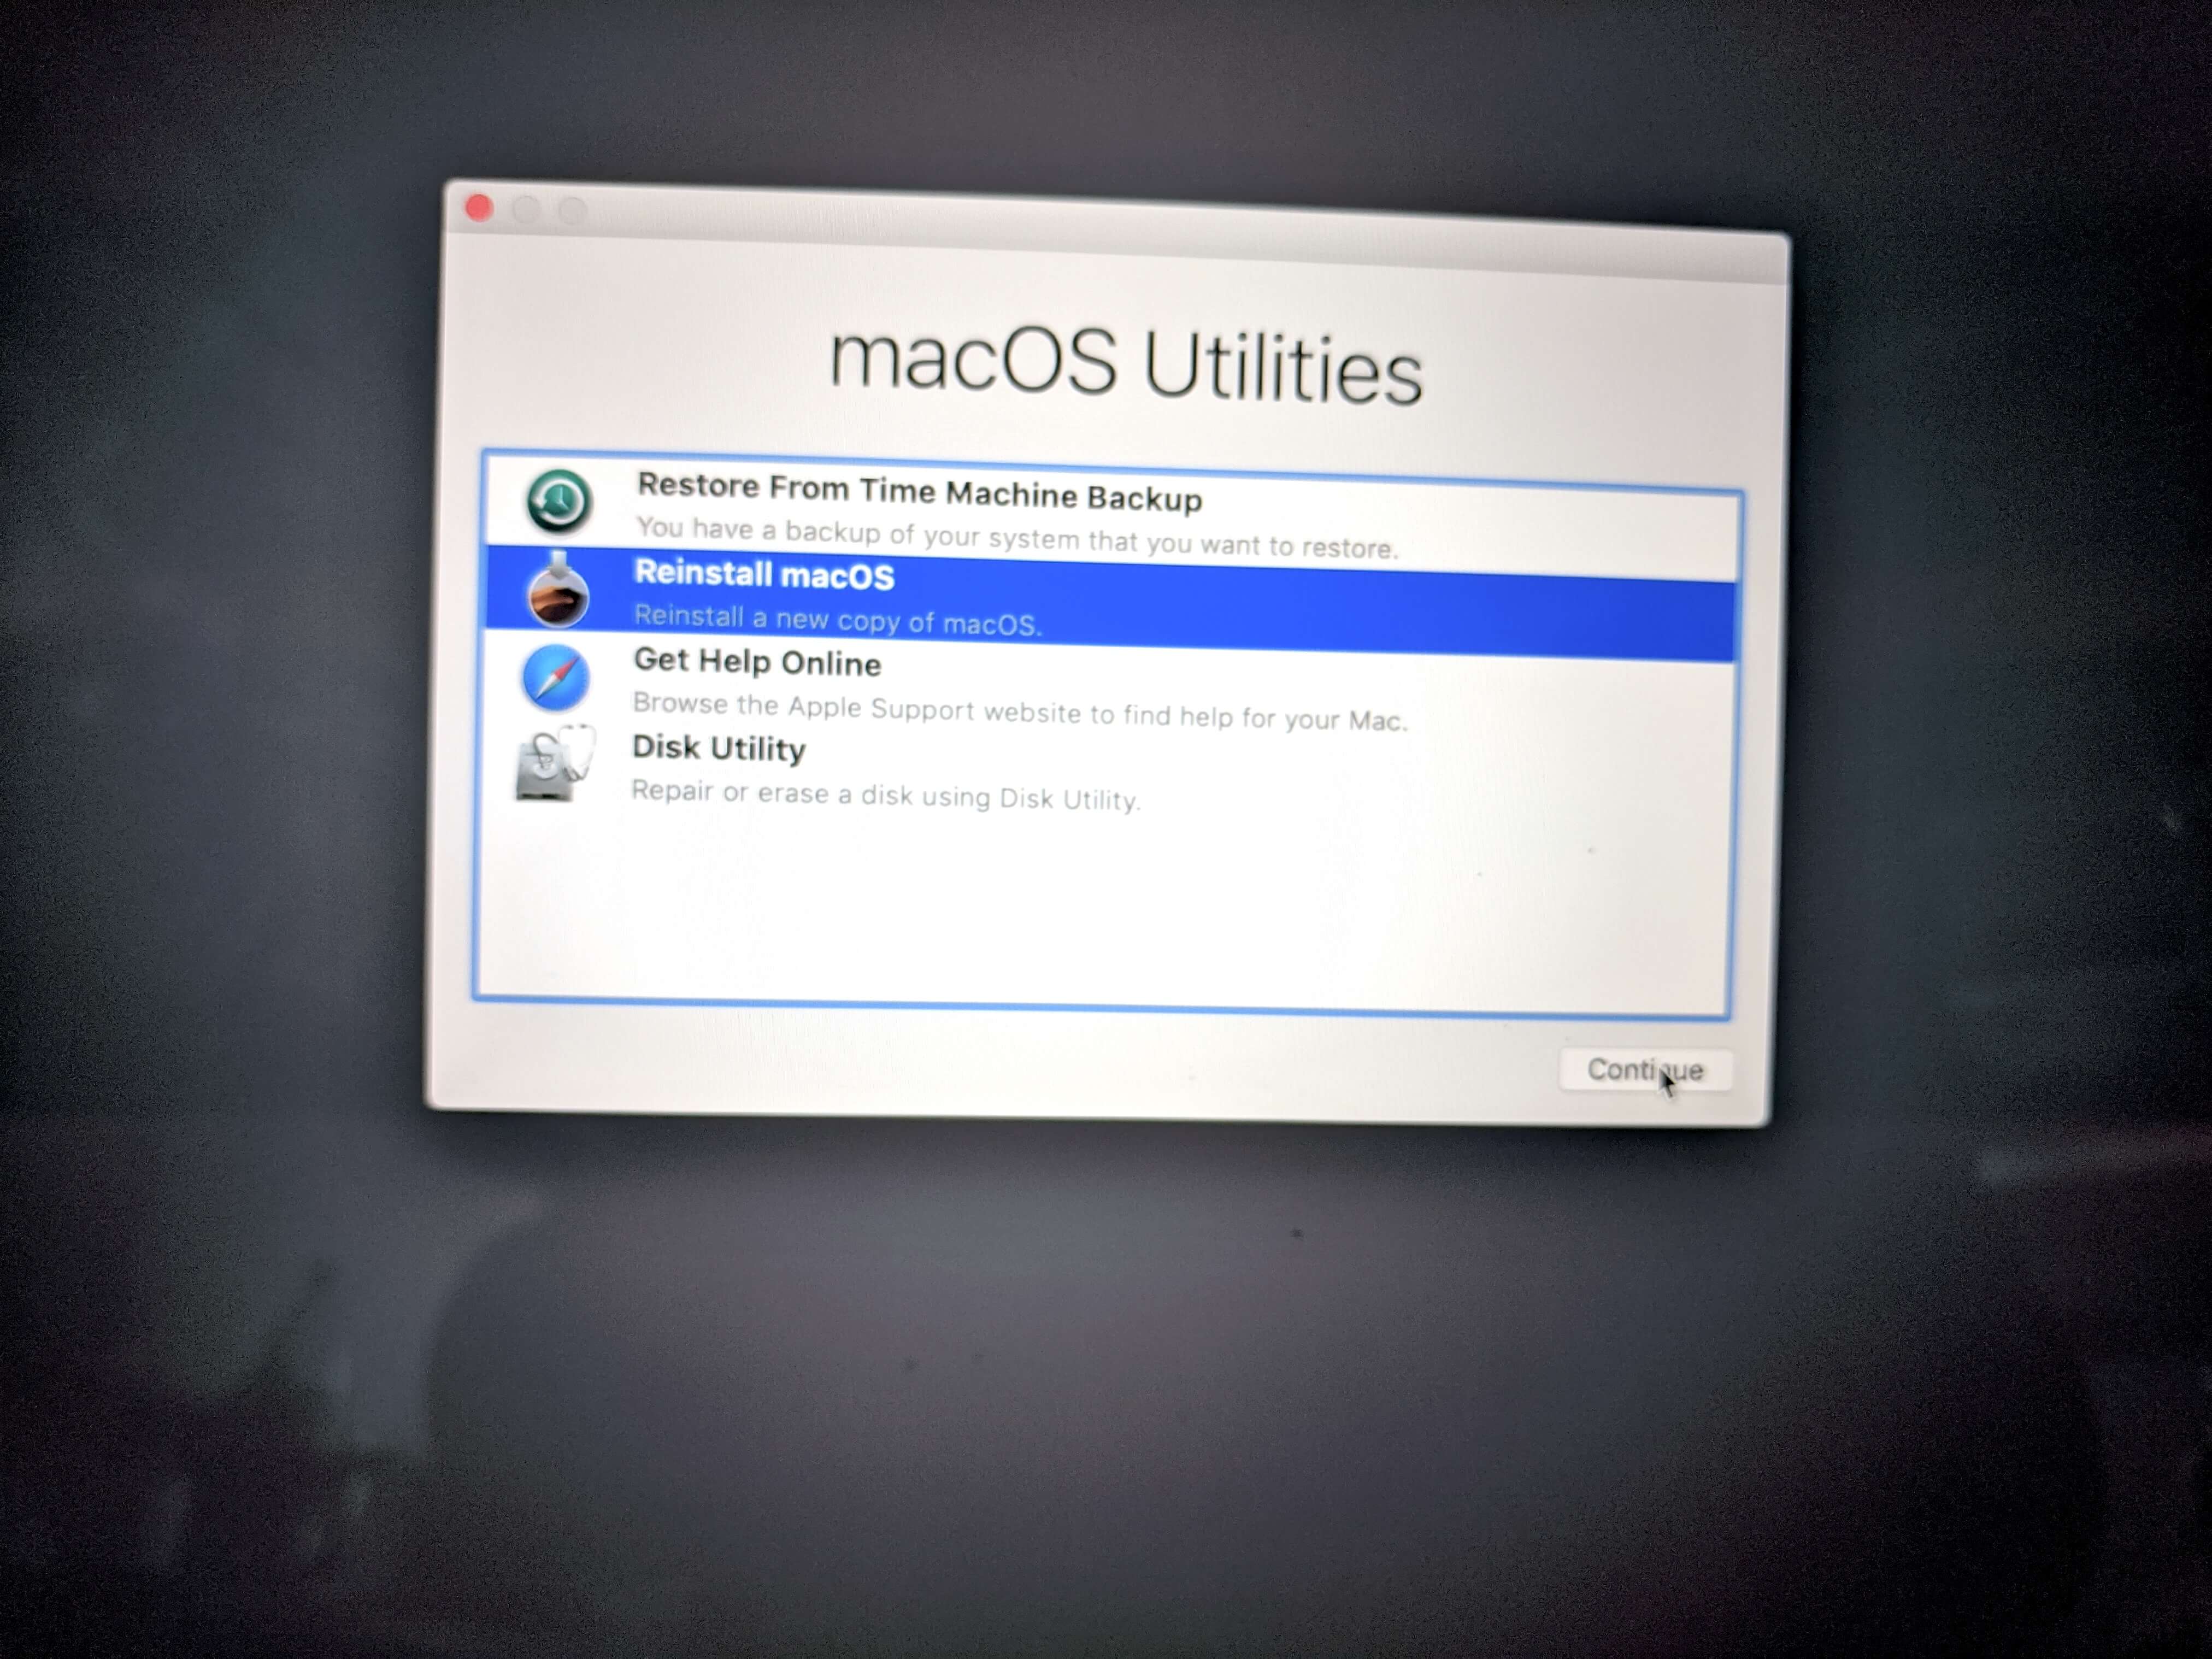
Now that the hard drive has been wiped, we'll need to reinstall macOS on the hard drive. Exit from Disk Utility to go back up to the top-level System Recovery Menu. Select Resinstall macOS.
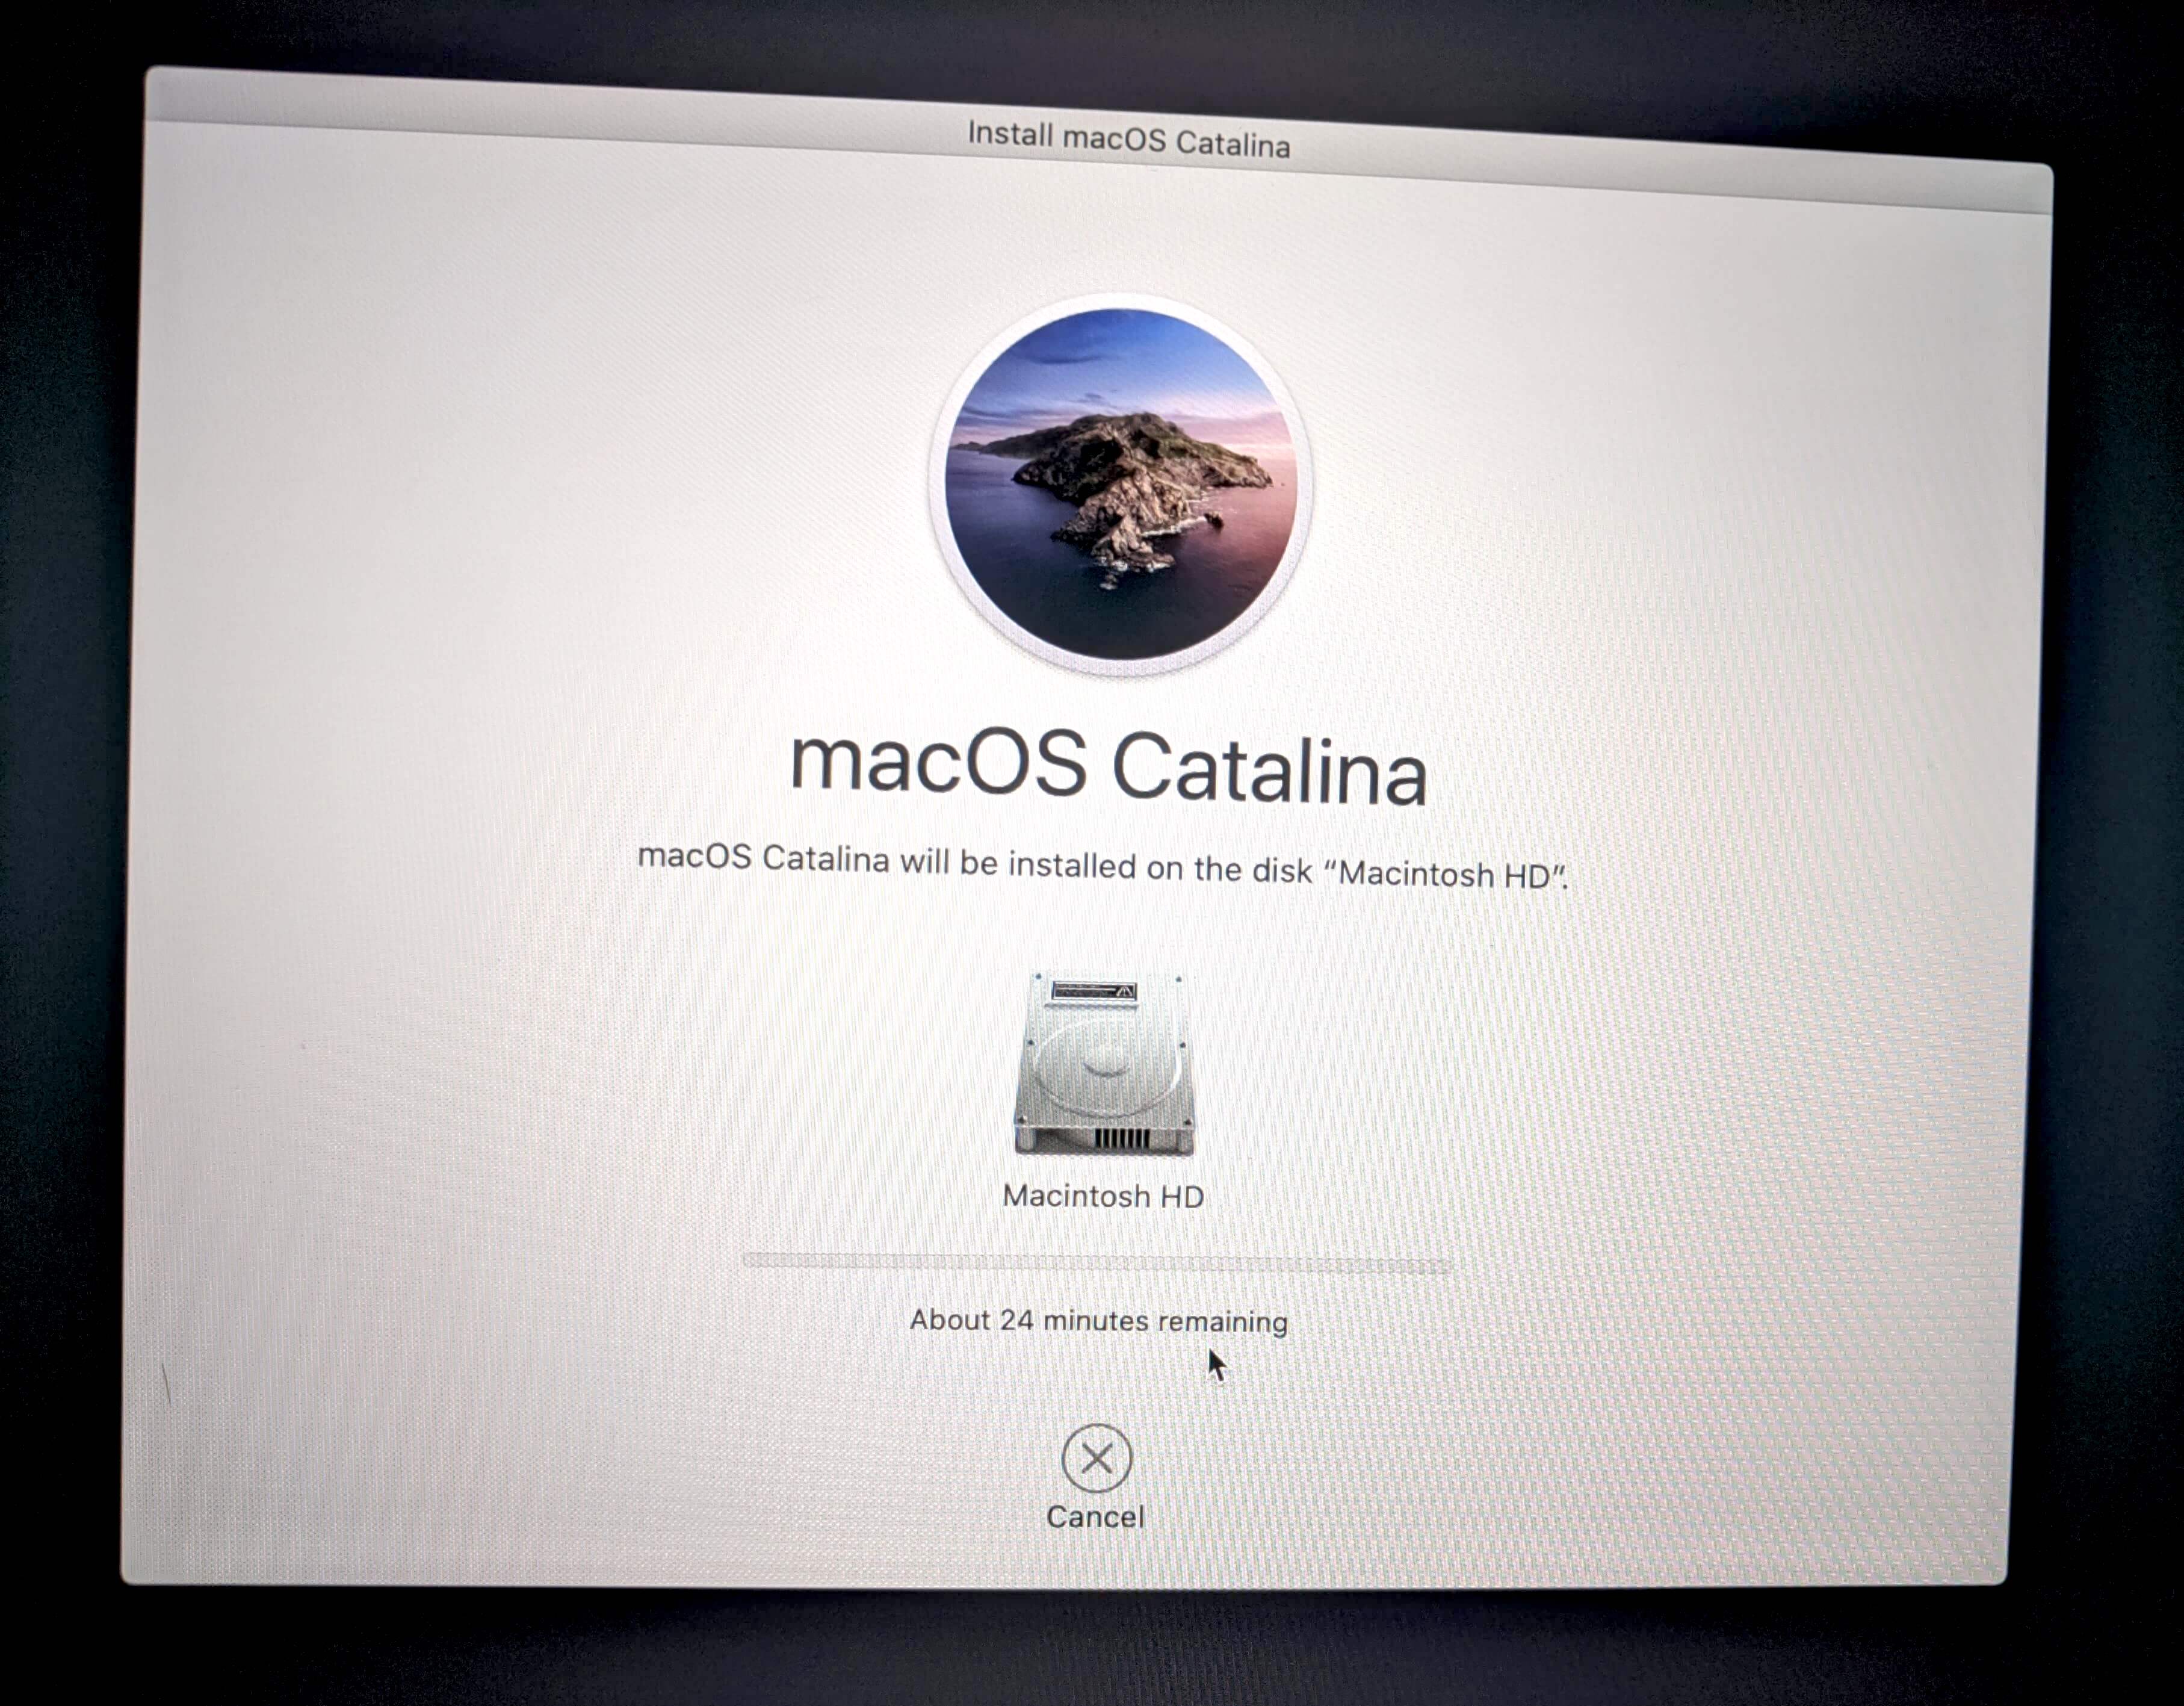
Install macOS Catalina
After accepting the agreement, select the Machintosh HD drive and click Install.
The installer said it would take 23 minutes and it took ~19 minutes. But then a different screen loaded with a black Apple icon, and that took 12 minutes, for a total inactive time of 31 minutes.
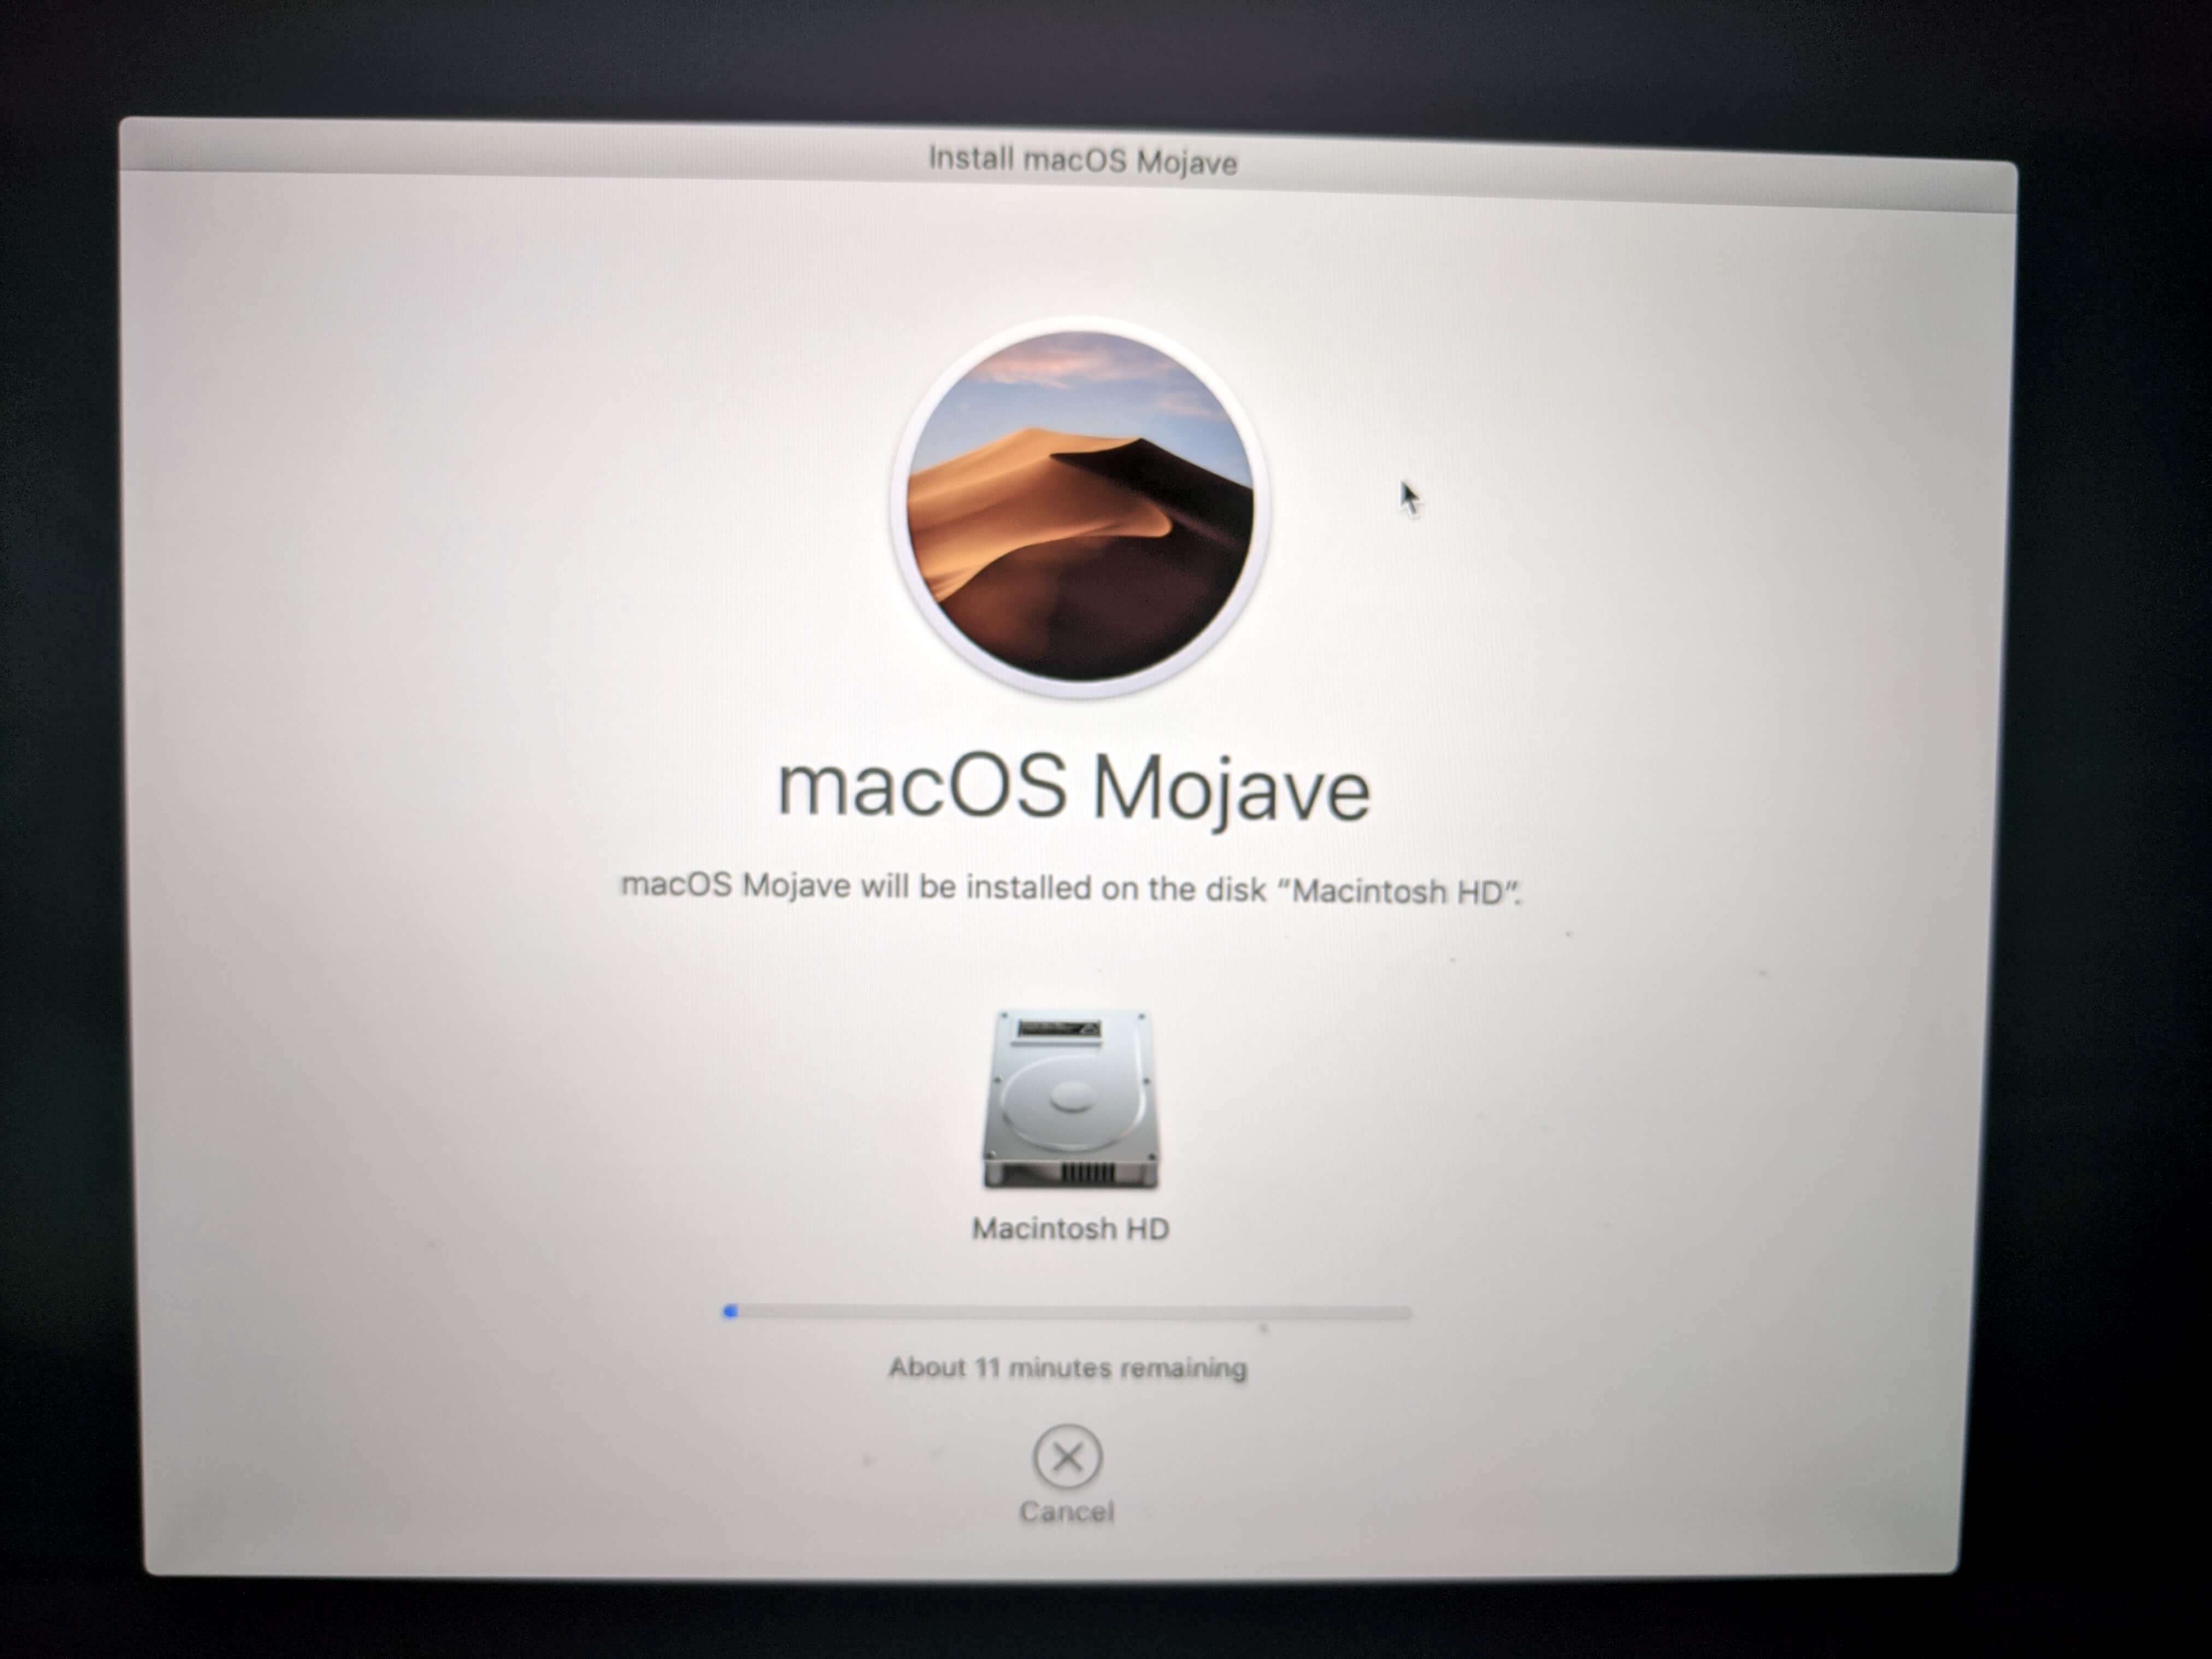
When reinstalling Mojave, this initial time was shorter by about ten minutes. Looks like the OS installation time gained about ten minutes between Mojave and Catalina.
Next Steps
That's it for the reinstall. At this stage, the computer is ready for a new customized MacOS installation. If the computer is going to someone else, at this point, your work is done. If you're installing the machine for yourself, continue on to the next step Setting up macOS Catalina: New machine setup for general use.